Showing posts with label beaded. Show all posts

Thursday, 2 October 2014

Showing Off - Grin, Grimace and Squeak

It is Whitby Goth Weekend 31st October to 2nd November. Just saying.

And as the first in my ' Showing Off' (working title until I come up with something better) blog articles where I find gorgeous makes for you, here is the spectacular, dark but yet sparkling, and always wonderfully skilled work of Grin, Grimace and Squeak.

Karen and Rich, from Whitby, handmade beaded masquerade masks, crowns and accessories.

Visit their etsy shop to see more of their work but here is a handful to tantalise you.

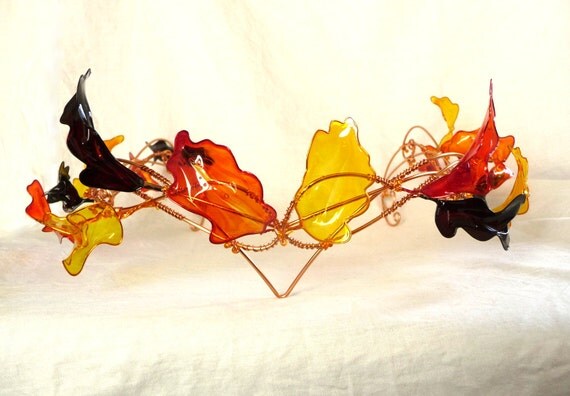
Autumn Crown by Grin, Grimace and Squeak

Gorgeous Autumn Crown. Perfect for Weddings, tripping about in the Woods or just normal day time wear if you fancy.


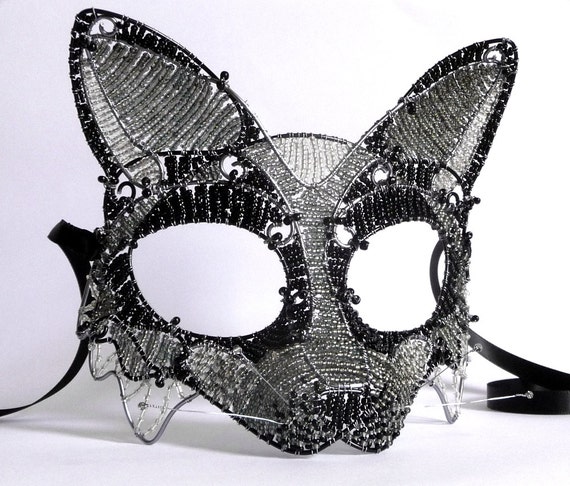
Black Fox Mask by Grin, Grimace and Squeak
Black Fox Mask. It is black so very gothic (now you see why I told you about the Whitby Goth weekend, huh?)


Gothic Crown in Black and Red
Gothic Crown in Black and Red. Gorgeous. Perfect for events in Northern coastal towns.  And anywhere else.


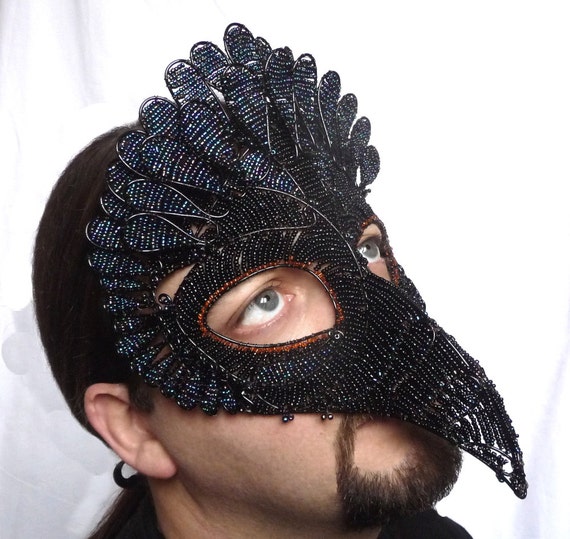
Vulture Mask by Grin, Grimace and Squeak
Vulture Mask. To show that men can wear these stunning pieces too.
I like vultures, incidentally, they are one of my favourite birds and do a lots of good in the wild where they clean up kills.

So they you are, just a few pieces to show you but do go and look in their shop as they are lots more to see and all beautiful.

Sunday, 27 November 2011

Felt and Bead Christmas Tree Decoration Tutorial


This idea and tutorial owes a great deal to Karen Jinks and the UK Handmade magazine (Winter Issue 2011).  There you will find a wonderful tutorial for a pine tree Christmas decoration.

Each year, at my work (which is an after-school club for children aged 4 to 11) the children make Christmas tree decorations.  I introduced sewing to the club with great success as the children are full of enthusiasm and great ideas.  Last year we made felt Christmas trees  and baubles with sewn on beads.  As we have many of the same children, I wanted something a little different.  I also have to think that this is something that has to be made by 4 year olds as well as the older children.

I saw the felt pine cone decoration and it stuck in my head.  But the thought of having to cut out all those flower shapes did fill me with dread.  So what could I think of to make a simpler but effective decoration?  And so this is is - the felt Christmas Tree decoration.  And if you go look at the pine cone decoration, you will see how much debt I am in to Karen for this.

I enlisted the help of my daughter to make this. Isn't it interesting how difficult it is for children to find the middle of something?  Still her tree turned out better than my try.

YOU WILL NEED:

About 7 triangles of felt. Each one will be slightly bigger than the one before (it doesn't have to be green - there are lovely felt colours out there and also many homes now have pink or red or black trees)
Beads
One large bead or bell (the bell I have used is a bit bigger than I wanted but it is the only size they had in my local shop)
Embroidery thread
Needle to thread

Thread your choice of embroidery thread through the bell (or bead) and then thread both ends through the needle again.


Thread through the middle of the largest triangle.

Then thread your choice of bead on top.

Continue in this way until you have threaded all the triangles and beads on.

Finish with a bead on top. Then knot the thread so you can hang it on the tree.

Thank you Mary.

Mary couldn't wait to hang it on her Christmas tree.

I tired a version using triangles cut out with my pinking shears.


And at the bottom I used a big bead from a necklace I had cut up.


I am looking forward to the children at my work trying it out.  I will try and get a photo of their creations for you to see.

And if you make any then please let me know.

Don't forget to check out the original pine cone decoration at the UK Handmade magazine.  UK Handmade is a great place for UK based artists, designers and makers to get help, meet others and promote their works. So go and look here

Friday, 11 November 2011

Following the Pink and Green Theme


Day 9 of Make a Day (Wednesday)
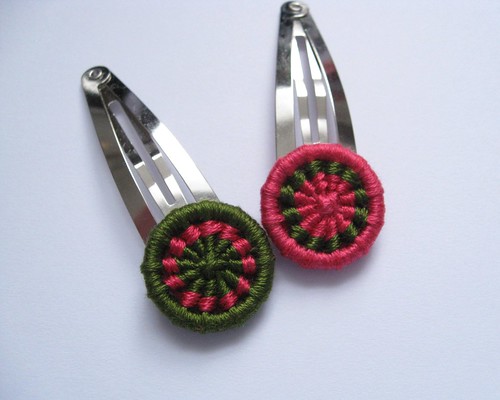
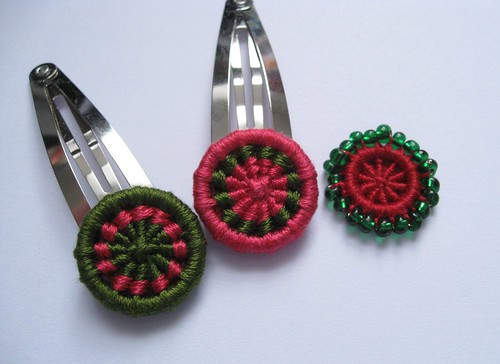
My pink and green hair snaps proved popular. I had a darker version of both colours and decided to make another pair using those. The buttons are also different as I have done one more row of the inner colour mainly because I forgot how many rows I did in the original ones.

pink and green snaps version2 007

Day 10 Thursday
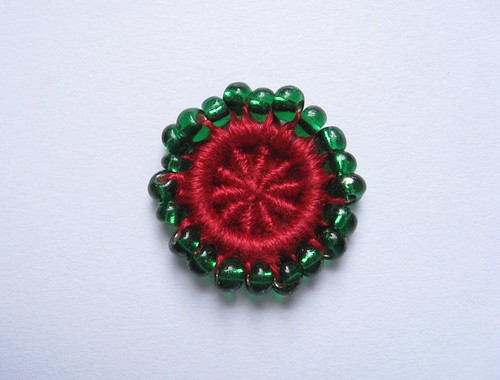
I thought I would continue the theme of pink and green and make a beaded button. I have made these before in the bigger sizes but this is the first one in the tiny buttons. The middle colour looks redder in this photo which gives it a Christmas feel.  I might stick this on a hair clip. I am still deciding.
pink and green snaps version2 005

You can see the size of the little beaded button in this photo where it sits next to hair clips using the bigger ring.
pink and green snaps version 2 and beaded button

I also have been thinking about making new tags for items I send out. In tidying my fabrics I found this one and decided this will do very nicely for my first ones.

 I embroidered the 'Bigbluebed' on a ribbon some time ago using left over bits of embroidery thread. I thought that people could use bits of the tags in their own projects if they wish. I can see that the one on the left is over embellished, so I will just keep to the simple looking ones like on the right perhaps with one button.