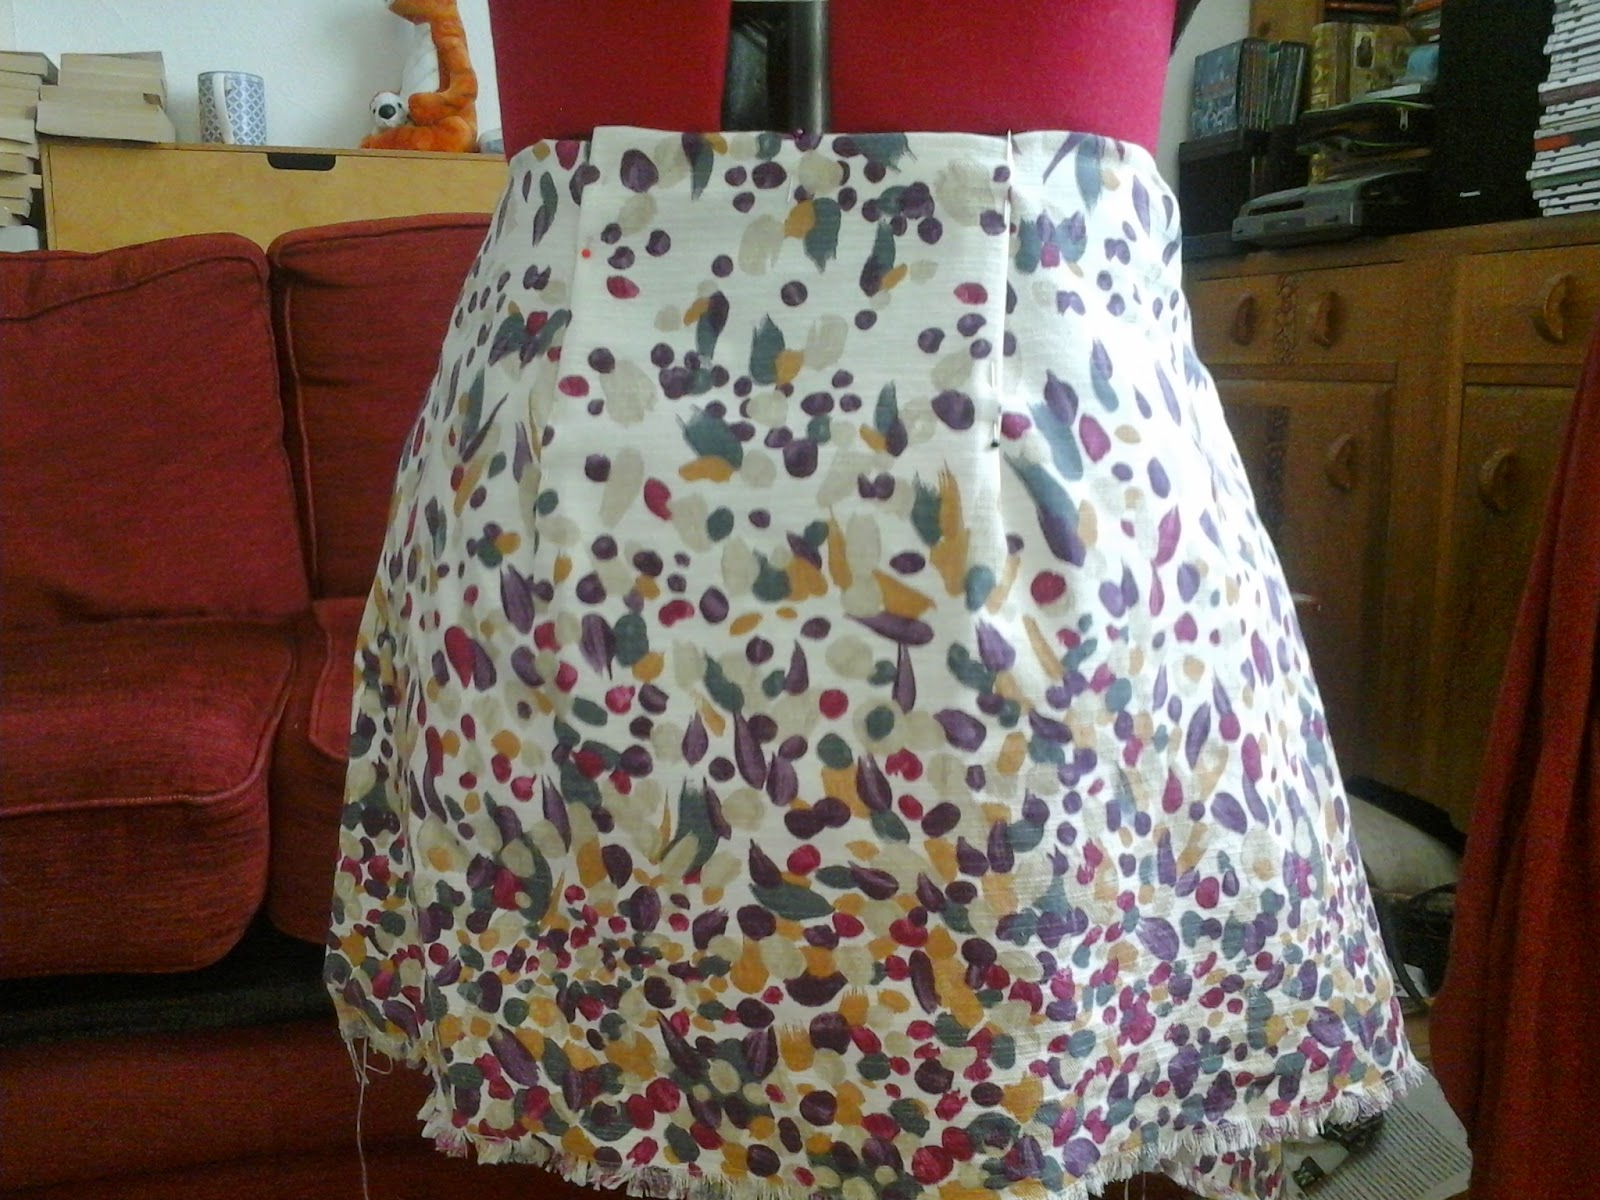
Continuing the Saga of the Useful Skirt. Part One is here.
I must apologise for my photographs. As my laptop was away I had to use my tablet which does not have a macro function, and apart from that I am not the best photographer.
So far I have cut out the pieces, using the Calluna fabric from the Country Retreat range, fitted them to Diana and sewn the darts on the back. Then I placed both back on front on Diana to make sure they matched.
 | ||||
| Putting Back and Front on Diana |
 |
When happy I sewed the side seams together.
But only went up a few inches on the left side as I wanted to be able to get it on and off (naturally) and therefore needed a fastening.
Please bear in mind that I was doing this as I was going along, with pattern. Therefore some of the things I did might have been better done earlier. Anyway, I then thought about the facing. I used more of the lovely fabric and some interfacing.
 |
| Thinking About Facing |
When the facing was sewn on, I then proceeded to make a placket for the fastening. Before watching the latest British Sewing Bee episode, I had know idea what a placket was although I had obviously had one on a garment before. I kind of did one without really knowing what to do. But it worked. I have a little flap of fabric onto which I sewed hook and eyes to fasten up the skirt. And when they are fastened you cannot see them.
Oh I have just looked up placket, and it is the whole opening not just the flap of fabric - '
plack·et
ˈplakit/
noun
noun: placket; plural noun: plackets
- 1.an opening or slit in a garment, covering fastenings or giving access to a pocket, or the flap of fabric under such an opening.'
This is the skirt finished. I hand sewed the hem. At this stage you may notice it looks a bit wider than in Part One. That is because it is. After I sewed the seams I tried it on and it was too small, so I redid the seams. So please try it on yourself before sewing the seams. (You really get a good idea about my prowess as a confident, knowledgeable sewer, don't you?!)


