Sunday, 14 December 2014

Country Basket’s Festive Face-Off 2014 competition

http://www.countrybaskets.co.uk/
I leapt at the chance to be part of The Festive Face-Off organised by Country Baskets, one of the leading craft suppliers. I like a challenge, I like craft, I like Christmas! Win, win, win.

The challenge was to use my creative talents (ho, ho, ho) to produce a bespoke Christmas-themed decoration for the home or garden using no less than 4 items from the goodies in the box provided, plus other items if I wanted.

Here are the lovely items sent to me.
Wire, Baubles, pompoms, bells, ribbons, mistletoe
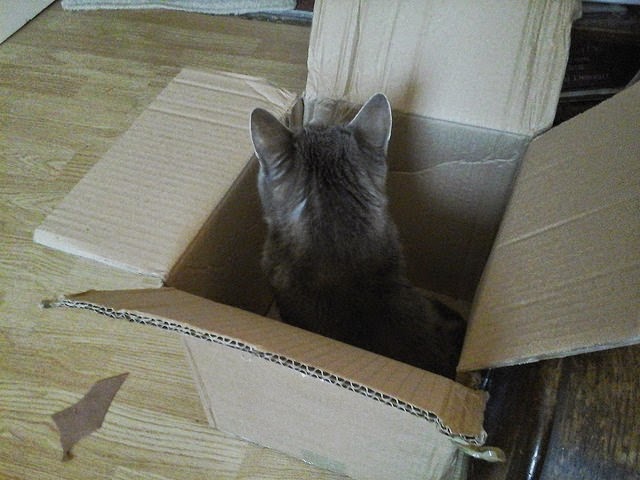
The box was appreciated too.

 
Hmm, what to make?  I knew that I wanted something for our front door as it looked a bit bare. So maybe a garland/wreath. But I didn't want to do a traditional circle one and then I thought of a Christmas tree made using the wire as a base.

So one morning I used to wire, which is very easy to bend, into a tree shape. Basically I spiralled up, then down and then went down each side twisting into the spirals to create a sold frame. I then added the little star at the top.  This tree shape could stand by itself before I flattened it, so that is an idea as well for a freestanding tree.

Christmas Tree Frame in Wire

The wire is a nice gold colour so it didn't matter if it showed in the finished tree.

Now I love snow. Unfortunately I live in the South of England so we don't get to see it very often. Luckily one of the items in the pack was a pompom garland made of little white pompoms on invisible thread cascading from a central point. I cut them off this fixed point so I had strands of the pompoms which I then wove in and out of the wire frame so they looked like snow (hopefully).

Starting to weave the pompoms onto the frame

All the pompoms are now woven onto the frame.


I had a nice Christmas film on the tv and it was a lovely way to spend the morning. Very festive.


So here it is finished. Or is it?

I love green and white. They look lovely together. But you know, sometimes you need a pop of colour to bring the whole thing together.

On the bus home (a great place to think ) I had an idea. So back at home I coloured some more of the silver hearts using nail varnish. I used a gold and a purple plum.


They look rather luxurious. I love the plain silver (matte and shiny) and I love the fact that you can add a bit of colour too.

Finally here is the decoration complete. The star is useful as I can hang it on a nail but another way of hanging it is by threading a length of ribbon through the star and hanging the ribbon up over the top of the door and securing it on the back of the door with some tape.

A few photos closer in so you can see the detail.


I used most of the items from the box supplied. I did not use the mistletoe so my daughter can take it to school and chase after the boys. The only thing I used of my own was the nail varnish.  That was fun. I am so happy with my door decoration. It makes me happy when I come home. And I love  love love that fact that I made it myself. No-one has one like it and it was so simple to do. Thank you Country Baskets

Monday, 6 October 2014

Picks from Pinterest - Papier Mache Fruit, Vegetables and a Frog

I thought I would start a few new features on my blog.

The first one is Picks from Pinterest. The title more or less says it all but to clarify - I will find things I like, try them out and tell you about them. You can find me on Pinterest here

(I am also going to share some wonderful sellers and their gorgeous makes with you.  I cannot think of a title for this one yet!)

This is the pear I made using the Pinterest Pick

So here is my first Picks from Pinterest.

Papier Mache Fruit and Vegetables and also a Frog


This from my board Ideas for Children to Make.  Here is the pin but I couldn't find the tutorial on the web page so I have combined it with this  papier mache frog pin  and link to web page.

This craft tutorial appealed to me because at work we are doing Harvest and making some fruit and vegetables in different medium.  This is a lovely simple way of doing papier mache.  We have done papier mache before mostly round balloons but last term we used bowls.

This is great because you can make anything and are not dependent on a mould.

All you need is newspaper, masking tape, glue (the tutorial I looked at used modge podge but I used ordinary PVA glue as that is what I had) and tissue paper.
I was lucky enough to have this gorgeous tissue paper that I used for my apple but the pear I made (pic above) just used the normal coloured tissue paper.


Scrunch up newspaper (or magazine pages if that is all you have, like I had)

Cover with masking tape to hold it in the shape of the fruit of choice

Glue on the tissue paper

I rolled and twisted a piece of brown magazine paper to create a stalk. I had to put my sticky apple in an old jar to dry. I tried to stick a kebab stick up its bottom but I couldn't get in there so next time I might leave a little space between the masking tape.

The finished and dried papier mache apple.

It was very succesful and I am going to try making different shapes next. I will keep you informed.
The children's work was wonderful and they created some juicy looking pineapples, pears, plums, oranges and apples.

If you have a go then please let me know how you got on.

Thursday, 2 October 2014

Showing Off - Grin, Grimace and Squeak

It is Whitby Goth Weekend 31st October to 2nd November. Just saying.

And as the first in my ' Showing Off' (working title until I come up with something better) blog articles where I find gorgeous makes for you, here is the spectacular, dark but yet sparkling, and always wonderfully skilled work of Grin, Grimace and Squeak.

Karen and Rich, from Whitby, handmade beaded masquerade masks, crowns and accessories.

Visit their etsy shop to see more of their work but here is a handful to tantalise you.

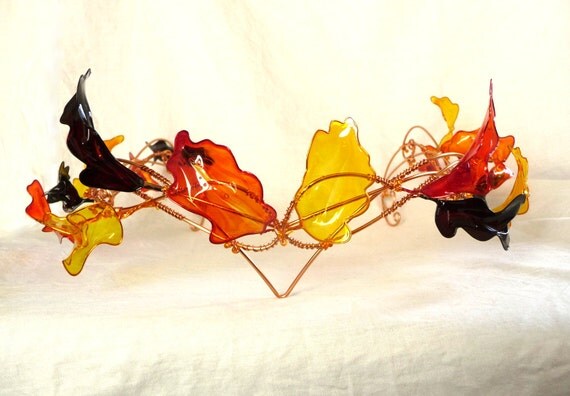
Autumn Crown by Grin, Grimace and Squeak

Gorgeous Autumn Crown. Perfect for Weddings, tripping about in the Woods or just normal day time wear if you fancy.


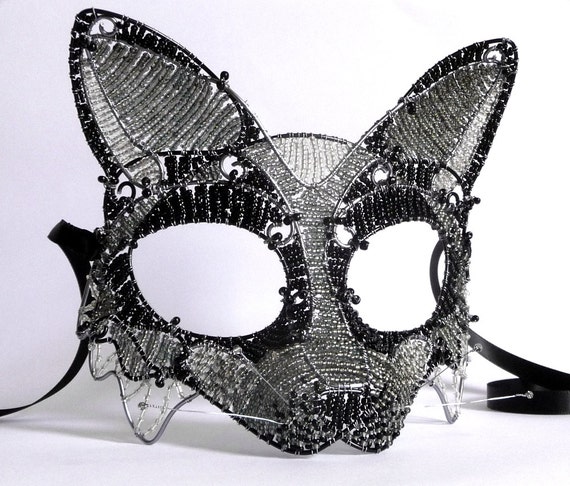
Black Fox Mask by Grin, Grimace and Squeak
Black Fox Mask. It is black so very gothic (now you see why I told you about the Whitby Goth weekend, huh?)


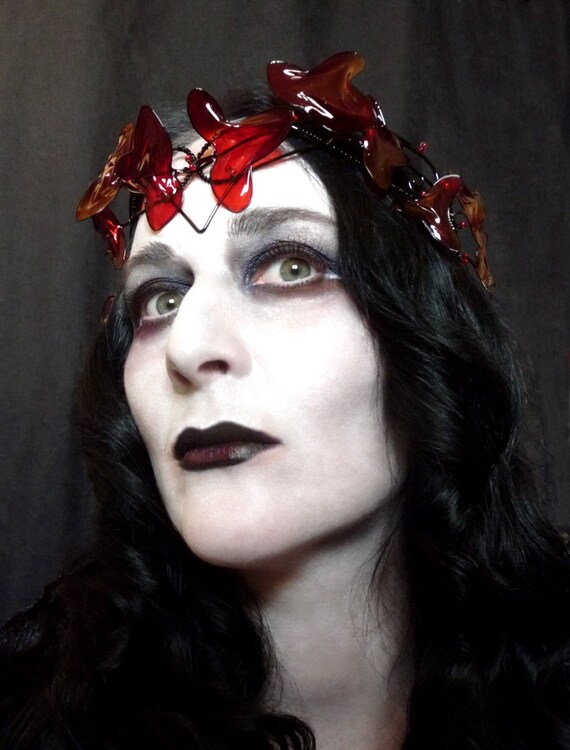
Gothic Crown in Black and Red
Gothic Crown in Black and Red. Gorgeous. Perfect for events in Northern coastal towns.  And anywhere else.


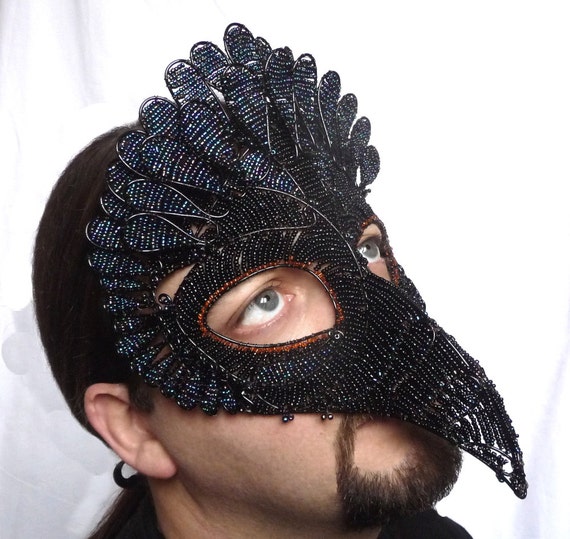
Vulture Mask by Grin, Grimace and Squeak
Vulture Mask. To show that men can wear these stunning pieces too.
I like vultures, incidentally, they are one of my favourite birds and do a lots of good in the wild where they clean up kills.

So they you are, just a few pieces to show you but do go and look in their shop as they are lots more to see and all beautiful.

Wednesday, 1 October 2014

Sorry I Have Been Away So Long

Sorry that I have been away so long. The laptop is going backwards and forwards whilst Mr BBB writes his book. But I have it for a few days each week now so things are back to normal.

So I will be writing more posts, sharing more news with you and also telling you about great sellers out there.  Thank you for sticking with me.


Wordless Wednesday - Magic Realism as a Ship sails through the park.


Wednesday, 11 June 2014

Osbaston Mud, Glorious Mud

Rrrrrrrrrrrrrrr.rrrrrrrrrrrrrrrrrrrr.  That is the sound of our laptop getting up and running. It is soooo slow.

But it is awake now so I thought I would, as promised share some more photos of our Easter holiday which now seems ages ago.

Did I tell you that I won the holiday? Yep, I did. So a big thanks To Dorset Cereals and to Dandelion Hideaway.

It was a glorious few days, not necessarily with the weather as that first night was very cold especially in a canvas cottage!  But we did have sunshine after that and lovely peace. Ahhh.

We are city dwellers, even if it is a smallish city.  So it was nice to get into the countryside and let my daughter just play. Luckily there were other children on the site and they all teamed up had fun.

This is our glorious canvas cottage inside and out. It had sleeping for six and a bathroom! The little room with the wooden doors with the hearts in it is the child's room which is just a big bed. Mary loved it.

Inside

A view of some of the canvas cottages

The wood burning stove

On our patio


It is a goat farm that produces goat milk to be made into butter, cheese and er..milk.
I never realised I was so bright!


The milk tasted just like cow's milk but it is supposed to be better as it is tolerated by our bodies more than milk from a cow. 


They also had pet Shetland ponies which you could groom.


She loved the grooming so much she had to have a good roll to get rid of the feeling!


And of course there were the chickens. I am now a friend of chickens. I would happily sit and chat to them or provide my boots for their pecking amusement.


My daughter had a great time.  She even got involved in a mud fight. And so did I.

Just a little hint here, from one who knows, DO NOT play with mud the night before the morning you leave your holiday. You will never wash out the mud in time.


On the way home we stopped in London and Mart met up with a friend.


I would thoroughly recommend The Dandelion Hideaway. It is a wonderful place.

Saturday, 31 May 2014

Still Here

I am still here, honest!

My tablet doesn't have a good relationship with Blogger, and vice versa.  And whilst I do have the use of the laptop, my husband is using it for his book and his OU work.

However, I shall try harder.

Saturday, 12 April 2014

Back from Our Holiday. Normal service will Resume Soon

We have just returned from our holiday.

I will write a lovely post about it soon. But for now I leave you with some chickens.

They liked my boots and kept pecking them, which was a strangely satisfying feeling.


Monday, 31 March 2014

Hillarys Blind Country Crafts Fabric Competition Part Two

Continuing the Saga of the Useful Skirt. Part One is here.
I must apologise for my photographs. As my laptop was away I had to use my tablet which does not have a macro function, and apart from that I am not the best photographer.

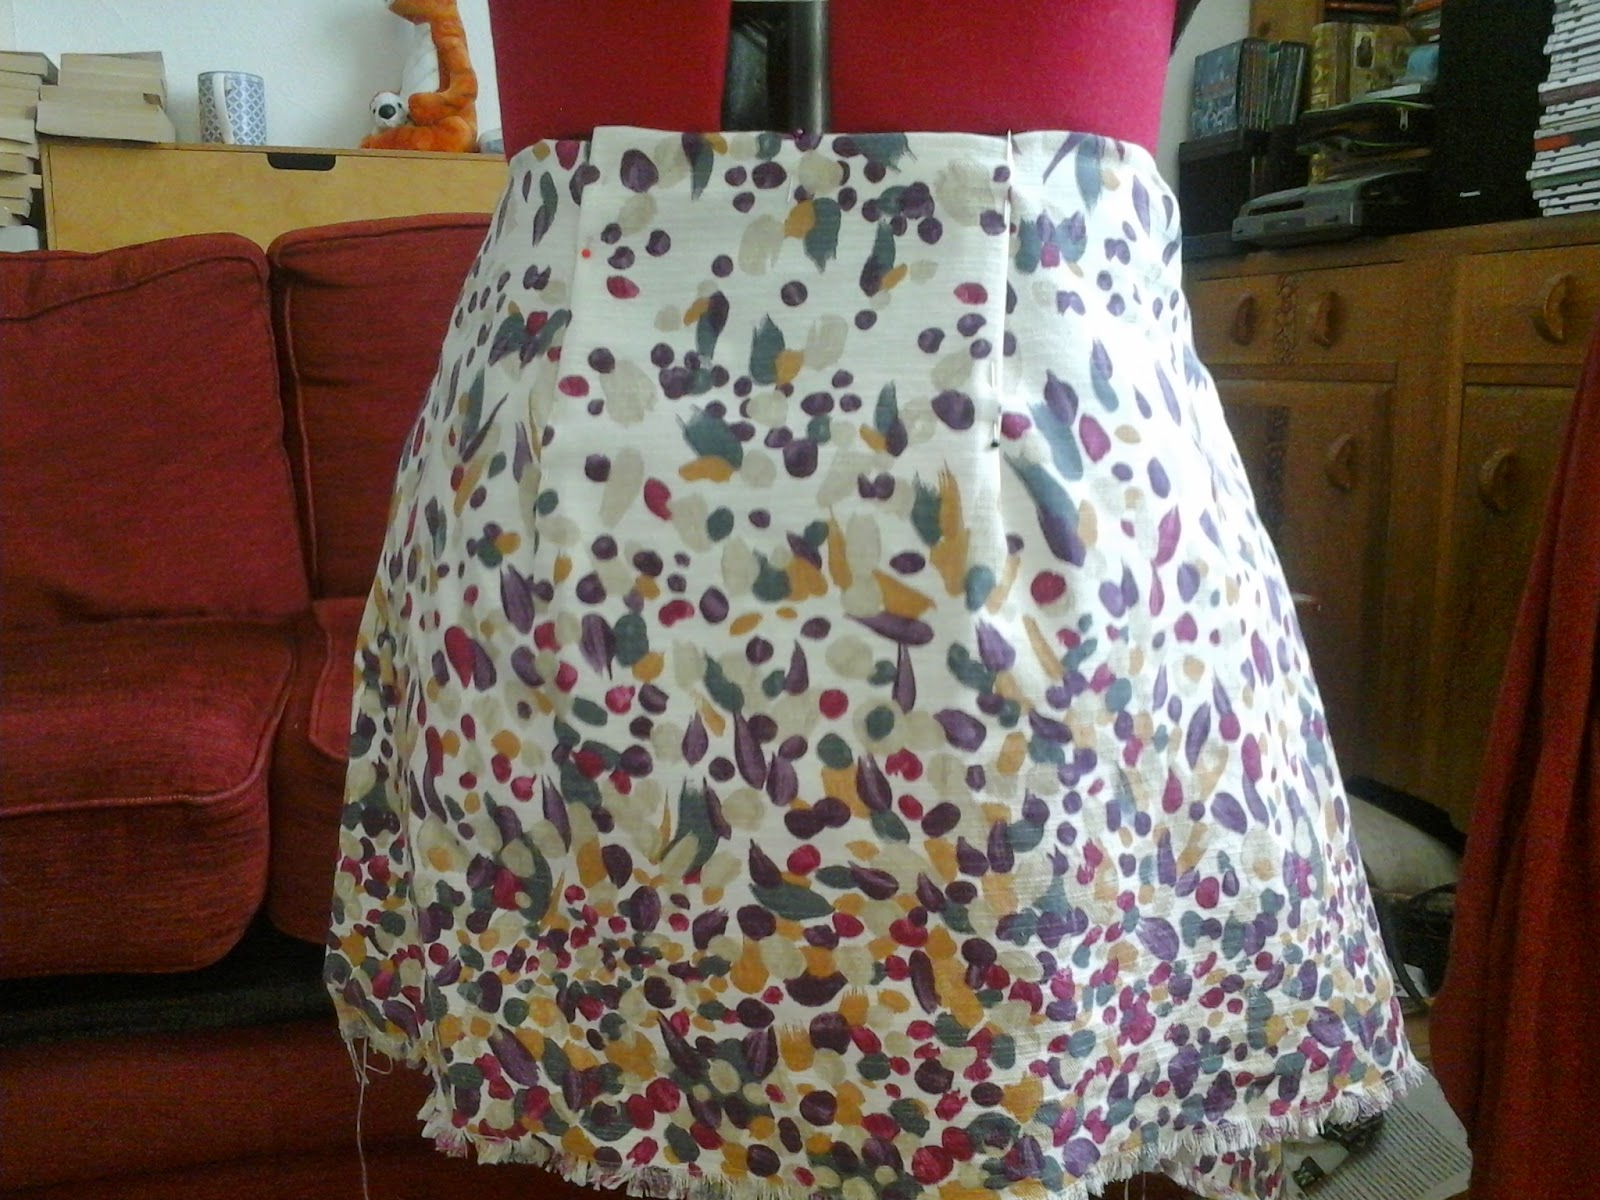
So far I have cut out the pieces, using the Calluna fabric from the Country Retreat range, fitted them to Diana and sewn the darts on the back. Then I placed both back on front on Diana to make sure they matched.


Putting Back and Front on Diana


When happy I sewed the side seams together.

But only went up a few inches on the left side as I wanted to be able to get it on and off (naturally) and therefore needed a fastening.

Please bear in mind that I was doing this as I was going along, with pattern. Therefore some of the things I did might have been better done earlier.  Anyway, I then thought about the facing. I used more of the lovely fabric and some interfacing.
Thinking About Facing

When the facing was sewn on, I then proceeded to make a placket for the fastening. Before watching the latest British Sewing Bee episode, I had know idea what a placket was although I had obviously had one on a garment before.  I kind of did one without really knowing what to do. But it worked. I have a little flap of fabric onto which I sewed hook and eyes to fasten up the skirt. And when they are fastened you cannot see them.

The Placket


Oh I have just looked up placket, and it is the whole opening not just the flap of fabric - '
plack·et
ˈplakit/
noun
noun: placket; plural noun: plackets
  1. 1.
    an opening or slit in a garment, covering fastenings or giving access to a pocket, or the flap of fabric under such an opening.'

This is the skirt finished. I hand sewed the hem.   At this stage you may notice it looks a bit wider than in Part One. That is because it is. After I sewed the seams I tried it on and it was too small, so I redid the seams. So please try it on yourself before sewing the seams. (You really get a good idea about my prowess as a confident, knowledgeable sewer, don't you?!)


And here is the skirt on me! Done. And I am rather pleased with it.


Sunday, 30 March 2014

Hillarys Blinds Country Crafts Fabric Competition Part One

I like competitions as they challenge you. So I was excited to see this competition by Hillarys Blinds.
I chose the lovely Calluna Amethyst fabric, from the Country Retreat range, and when it arrived I waited for it to speak to me and tell me what it wanted to be!


It took a while as I knew I did not want to make a bag but was not sure what I did want.  But inspiration came as I thought how much I need more tunics to wear over my leggings and jeggings, and skinny jeans.  What about a little skirt which would come to the same length of a tunic but would also be a useful skirt?

I made a quick sketch on the bus one day.


After washing and drying and ironing the fabric, I started to create the shape I wanted with the help of Diana, my mannequin.

The back of the skirt
I started by creating shape with darts.


At this stage everything is still just pinned.

I am aiming for a slight A line, and used one skirt to give me the other side, by folding the fabric in half along the back line.


I then used the back to help me cut the fabric for the front, trying to keep the pattern in line.


NEXT PART - finishing the useful skirt.