
 I am fortunate indeed to be one of only three bloggers to participate in the Country Baskets Paper Bouquet competition. Lucky, lucky me got to shop in their online shop and choose some supplies to make into a paper bouquet.
A handmade bouquet is a wonderful idea as it can be customised to include favourite colours and flowers. I wanted a simple and fresh colour scheme of lilac, white gold and green.

This one is tissue paper and brown paper roses, and white (I think of them as daisies but they are not really) card flowers. This rose is very simple to do and perfect for children to make too. But please be careful with the glue gun and if children are making them then craft glue would be a safer idea. It would be a great idea for a meet up with the family beforehand, bride and sisters and nieces (and groom, and brothers and nephews if they wish) all sitting round the table munching on cakes and making the roses for the bouquets and button holes. You have to have cake.
I am going to show you several things today:
the basic rose on a stem
the rose to which you later add the stem
the white non-daisies
the jar decoration
and making it into a bouquet
The basic rose on a stem using tissue paper. I have used two sheets together and you can mix the colours up as well. This is plain tissue paper but you can also get some lovely patterned paper. I have also used green florists wire but you can use any wire and children could use pipe cleaners.


Cut a square of tissue paper and then cut the corners off so it is more of a circular shape. Starting from one corner cut a spiral into the middle. Play around with the widths and you will get different looking flowers, it is fun to play.


Using a handy tool such as this lolly stick saves your fingers from the hot glue (and is a great excuse to eat more ice lollies).


And if you want you can add a leaf. Tear a leaf shaped piece of tissue paper and wind one end round the wire, cover up with the length of tissue paper that you have been winding round the wire.
The Brown Paper Rose is very much the same technique except we are going to add the stalk later. This means that you can use this flower in other crafts, without the wire, such as on cards, or you could add them to a hair band. I like Brown Paper, of course you can colour it but I found it picked up the ribbon and looked gold.


You can make this a lot looser, just a dot of glue every now and again.


The White Non Daisies
Actually these were so easy as I just got the flower shapes from Country Baskets. They are supplied in a pack of three different sizes. Of course you can colour them but I like the white.

I just glued three together, one on top of the other.


Then I added the wire to the back. I used brown paper first because it is stronger than the tissue paper, and will hold the wire better.


Then all you have to do is lift up some of the petals to make the flower more 3D.


If you want you can add decoration such as this gold nail polish dotted into the middle.
So here is the finished flowers. For an extra country touch I used a few Dried Tarwe (wheat).
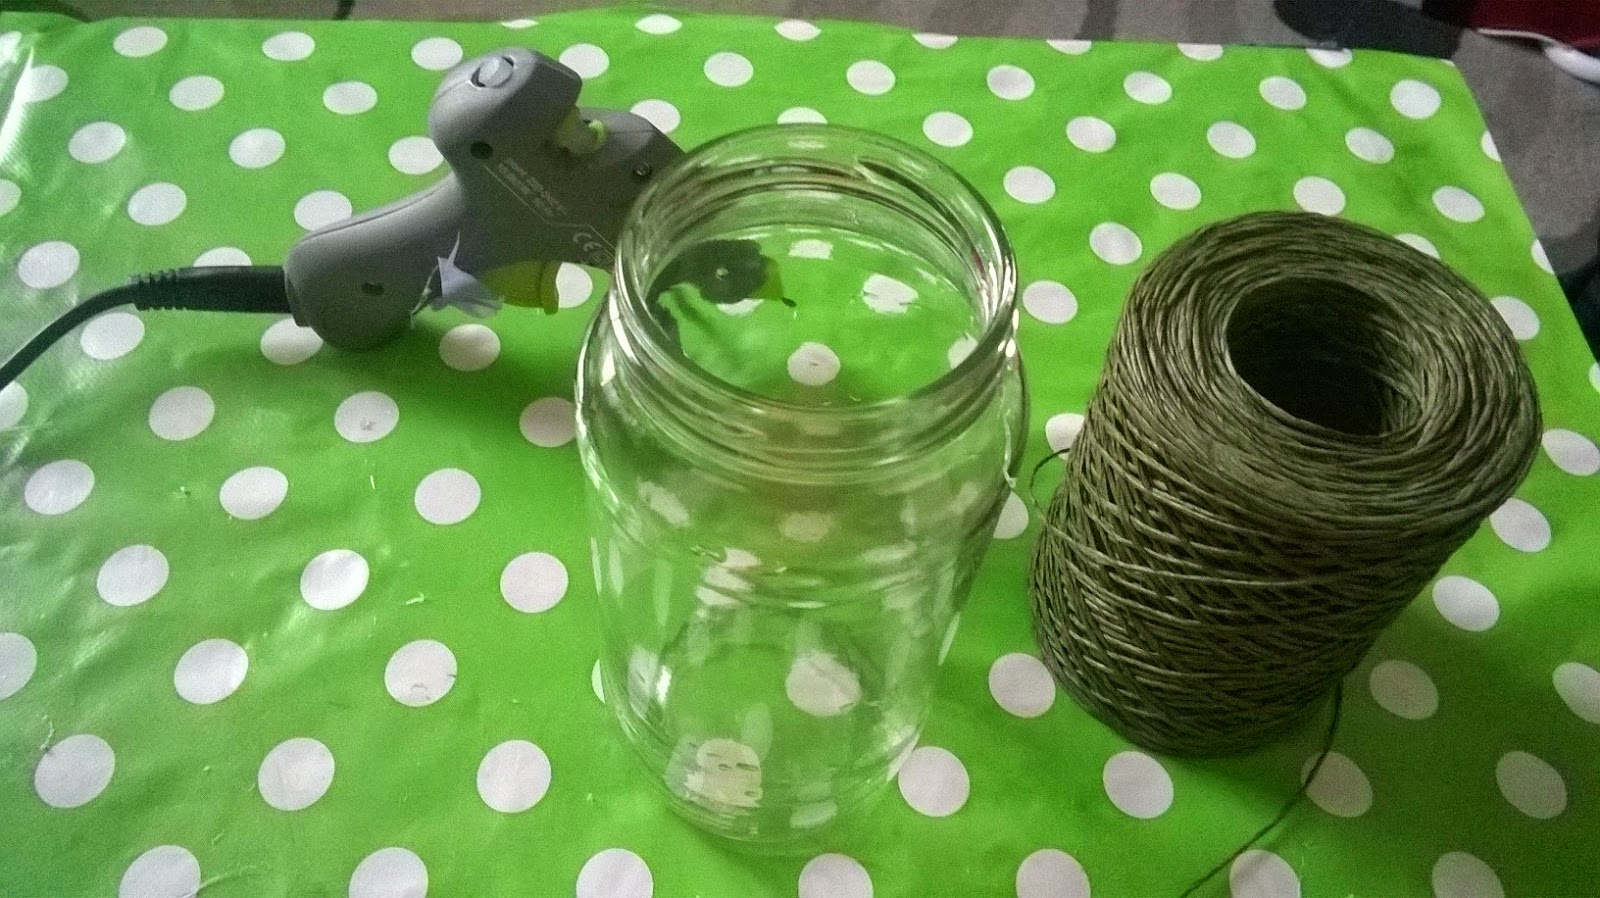
They make a lovely display like this. The vase is a pasta jar that I have upcycled into a nice vase.
 It is very simple. You can use any twine or yarn but this one is Green Oasis Bindwire and it has a wire in the middle so it bends nicely.
 Glue every now and again and then just wind the yarn on. The middle bit needs less glue as it is just straight but I needed more on the curved bits.

Decorate Jar


Ta da!
So the last thing to show you is the final completed bouquet fit for a bride or a bridesmaid.

 Arrange the flowers to your satisfaction. Cut the stalks so that they are the same length.
 I used the bindwire, that I used to decorate the jar, twisting it down the stems of the flowers to hold them together.
 It looks rather nice at this stage but for an extra special touch I wanted a ribbon. This is Gold Organza Ribbon. All I did was bring the ribbon round to the front, let it meet, twist then take it back again, twist at the back and then bring it back to the front, all the way down. Then a bow at the bottom.

 One finished paper flower bouquet.
So the last thing to show you is the final completed bouquet fit for a bride or a bridesmaid.


To make the bouquet I used:
Papercraft Card Shapes Daisy (Oh it is a daisy!)
Brown Paper
Tissue Paper - Dark Green, Lilac and White
A Craft Glue Gun
Dried Tarwe
Green Wire
Oasis Bindwire in Green
Gold Organza Ribbon